Keywords Targeted: glazed tile roll forming machine, how to use roll forming machine, tile roof forming equipment, metal tile production, roll forming operation guide, PPGI tile machine
A glazed tile roll forming machine is essential equipment for producing colorful metal roofing tiles used in modern residential buildings, industrial workshops, and steel-structure projects. To achieve stable tile shape, accurate cutting, and long-term machine durability, operators needs follow the correct usage procedure.
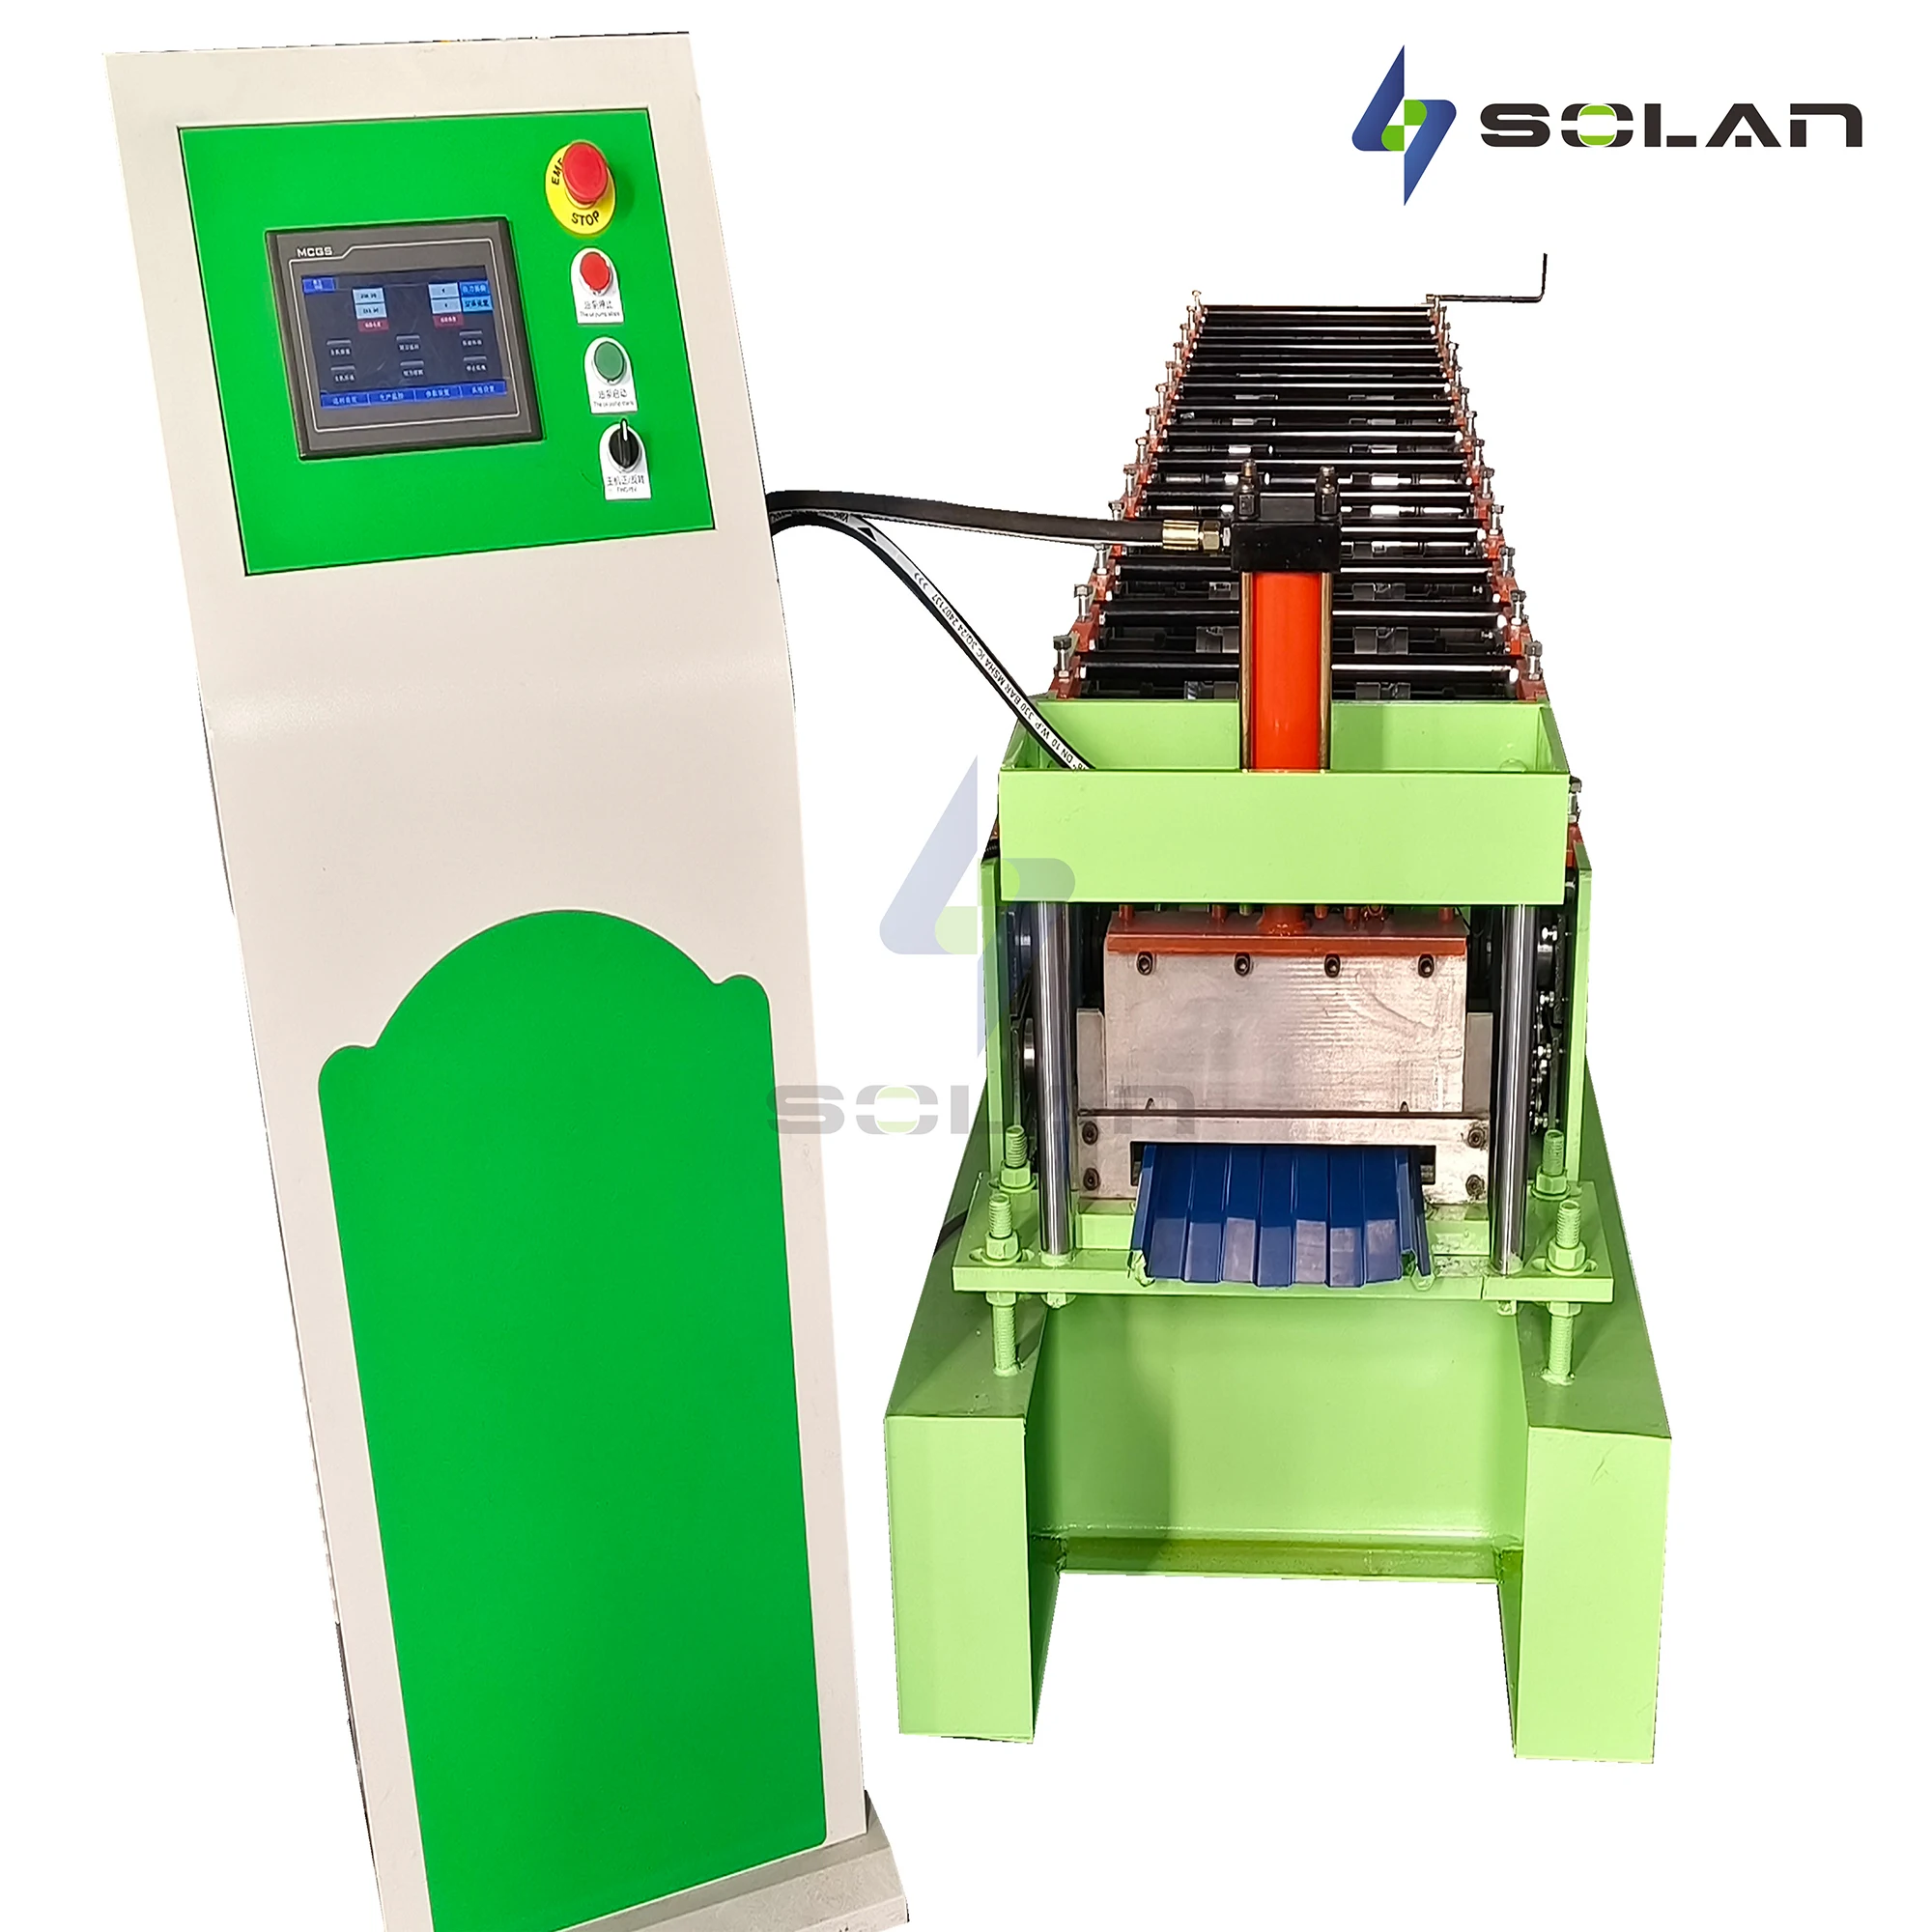
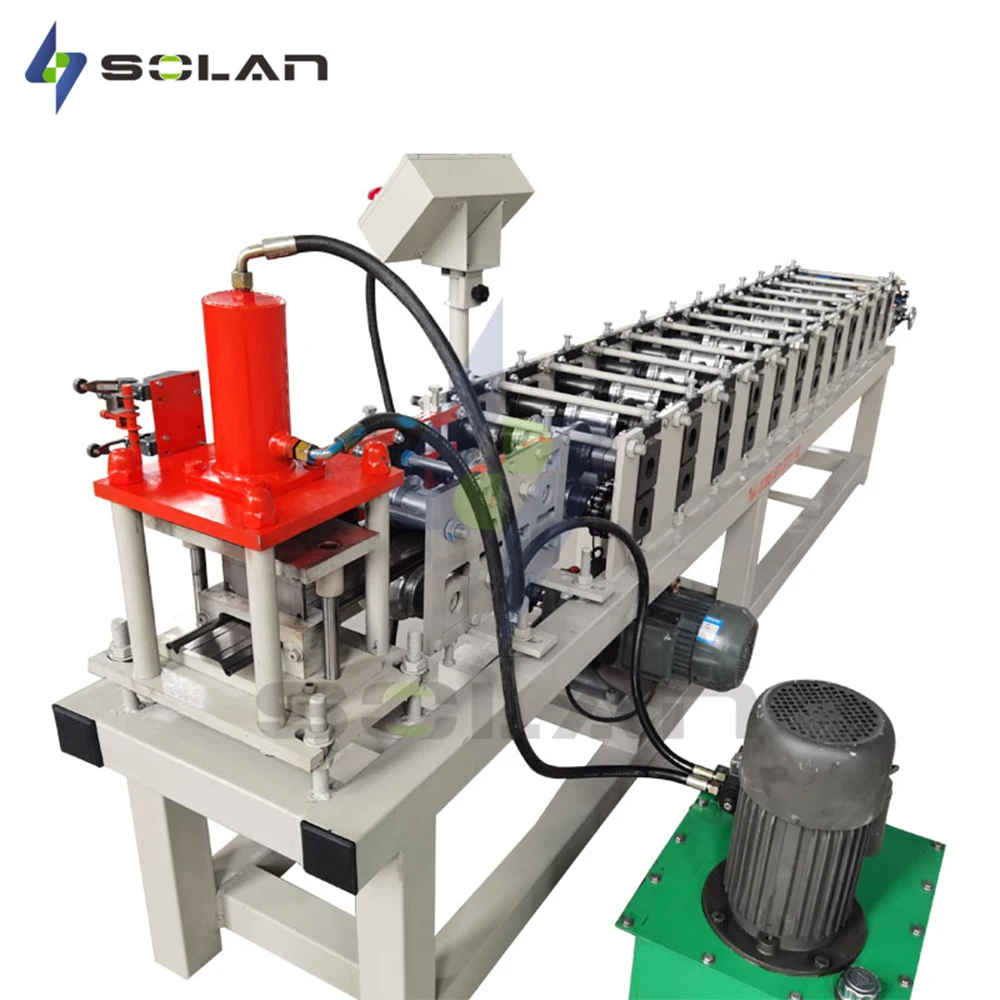
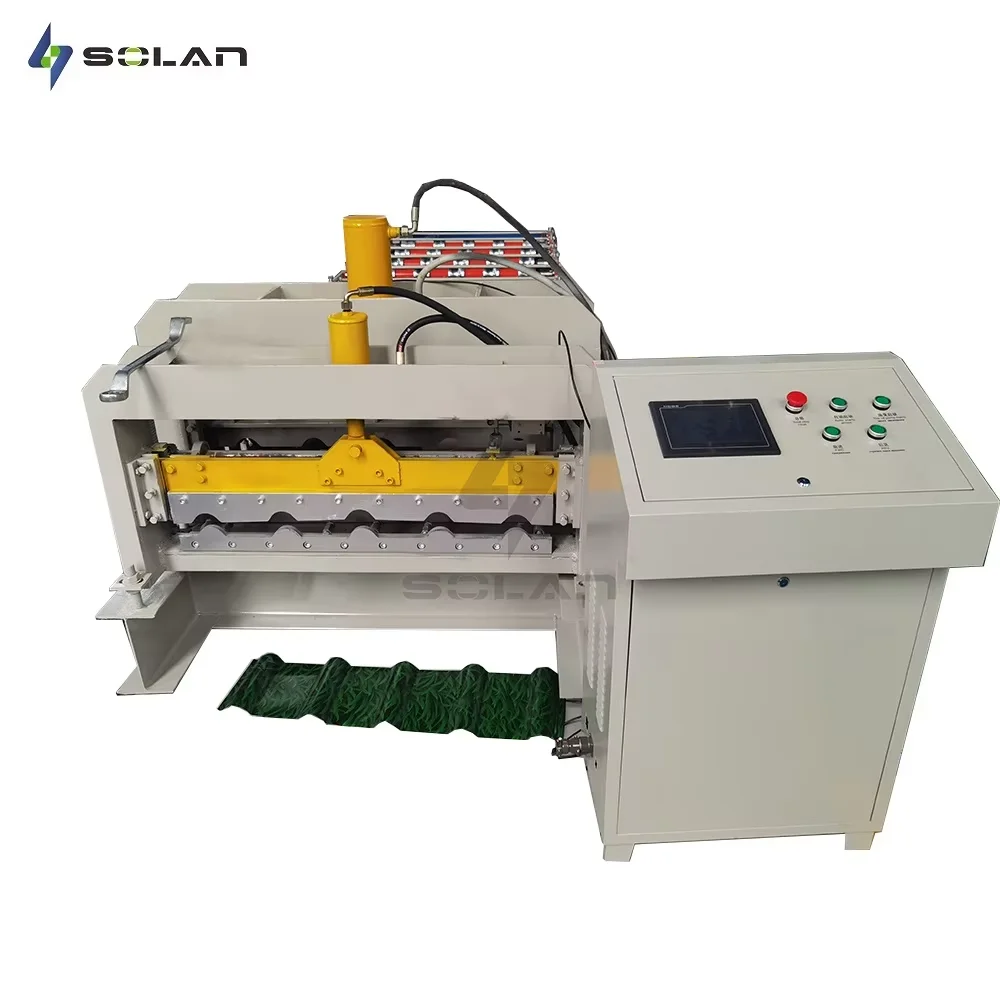
A glazed tile roll forming machine transforms color-coated steel coils (PPGI/PPGL) into embossed glazed roofing tiles through continuous roll forming, embossing, and hydraulic cutting.
Typical features:
PLC automatic control
3D embossing roller design
8–12 m/min stable forming speed
±2 mm cutting accuracy
Understanding the machine structure helps operators use it more efficiently.
Keyword focus: machine setup, roll forming machine preparation
Before running the machine, check the following:
Confirm 3-phase power supply is stable
Check wires, terminals, and PLC connections
Ensure the control cabinet is dry and dust-free
Oil level within recommended range
No oil leakage from valves and hoses
Hydraulic temperature remains 20–50°C
Rollers clean, free of scratches
Chain, shafts, and gears properly lubricated
Blade and cutting system aligned correctly
Coil width matches the tile profile
Ensure PPGI/PPGL surface is flat and undamaged
These checks help reduce errors during production and extend machine life.
Step 1: Turn on the main power
Step 2: Switch on the hydraulic pump
Step 3: Open the HMI/PLC control panel
Step 4: Set parameters:
Tile pitch
Cutting length
Quantity
Run speed
Step 5: Run the machine empty for 1–2 minutes to confirm no abnormal noise
Step 6: Begin feeding the coil and start automatic production
Following these steps ensures smooth operation, especially for new operators.
4. Production Process Explained (How the Machine Forms Tiles)
Keyword focus: glazed tile production process, roll forming workflow
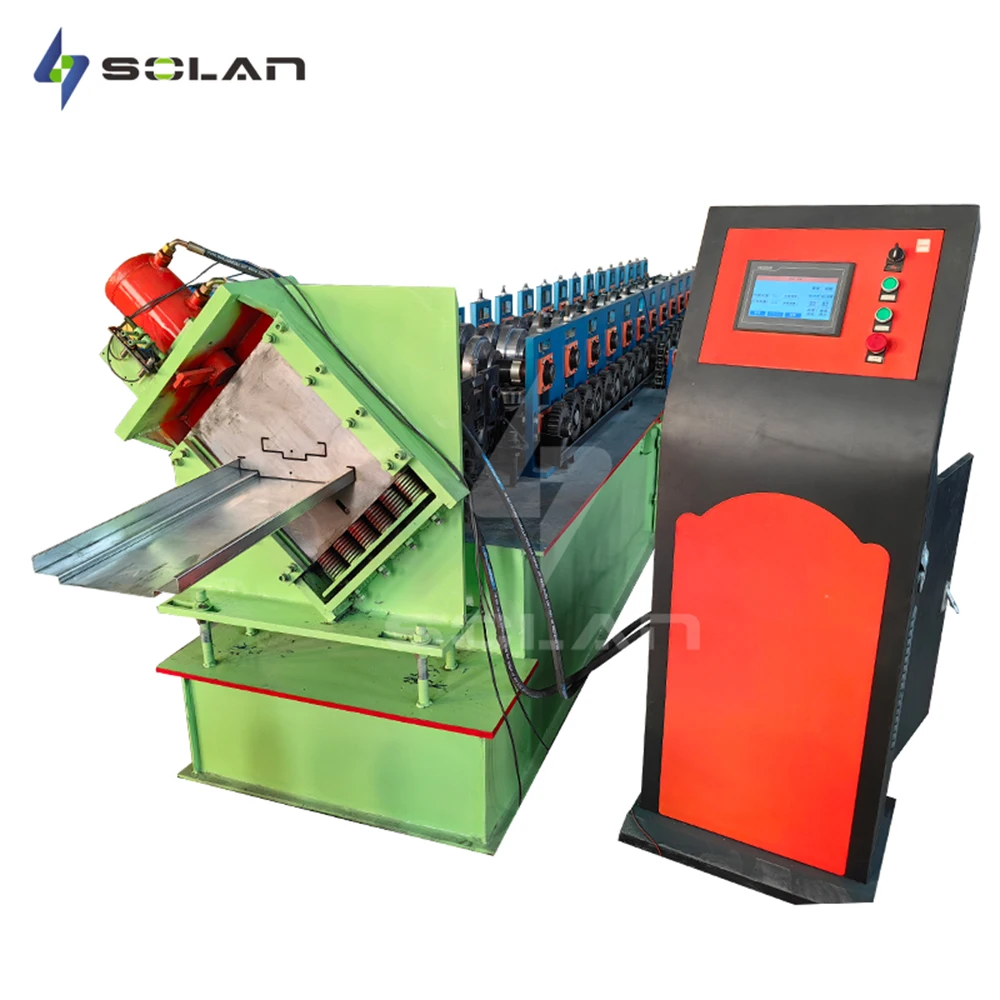
a. Decoiling & Guiding
The steel coil enters the guider to ensure perfect alignment.
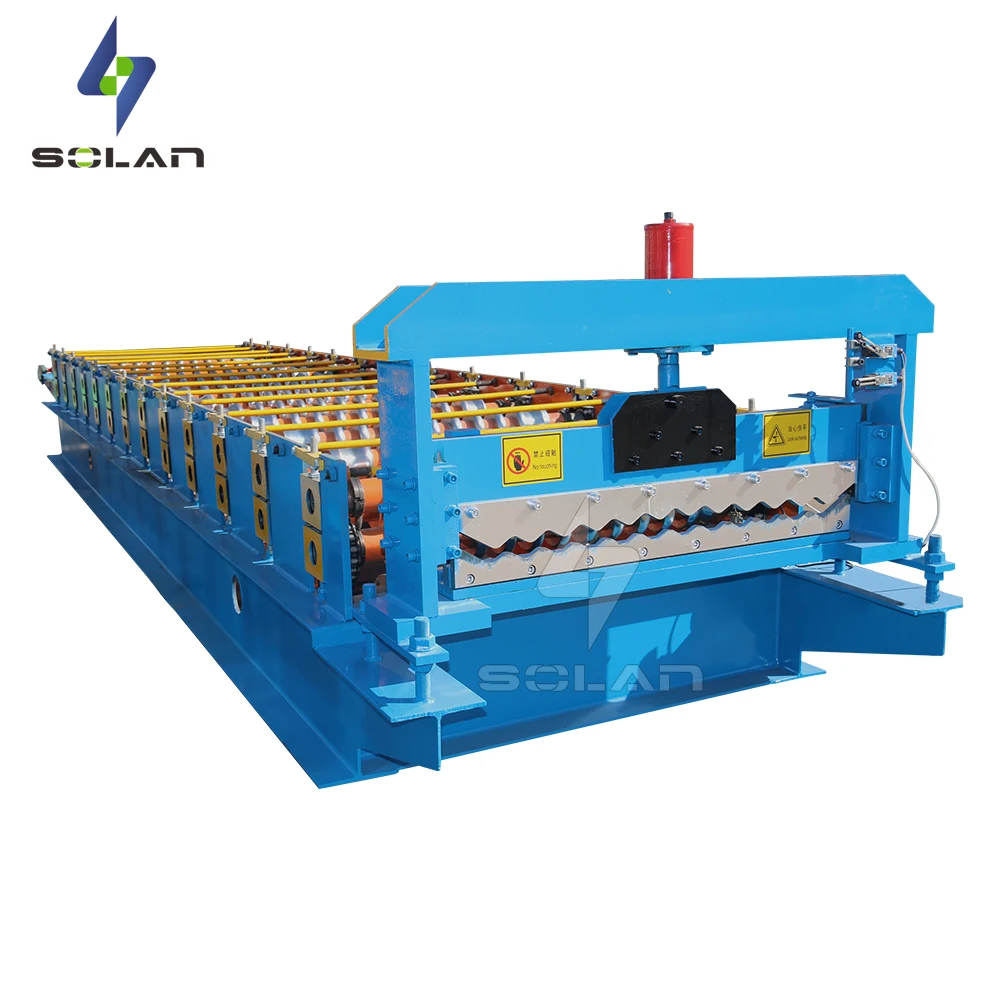
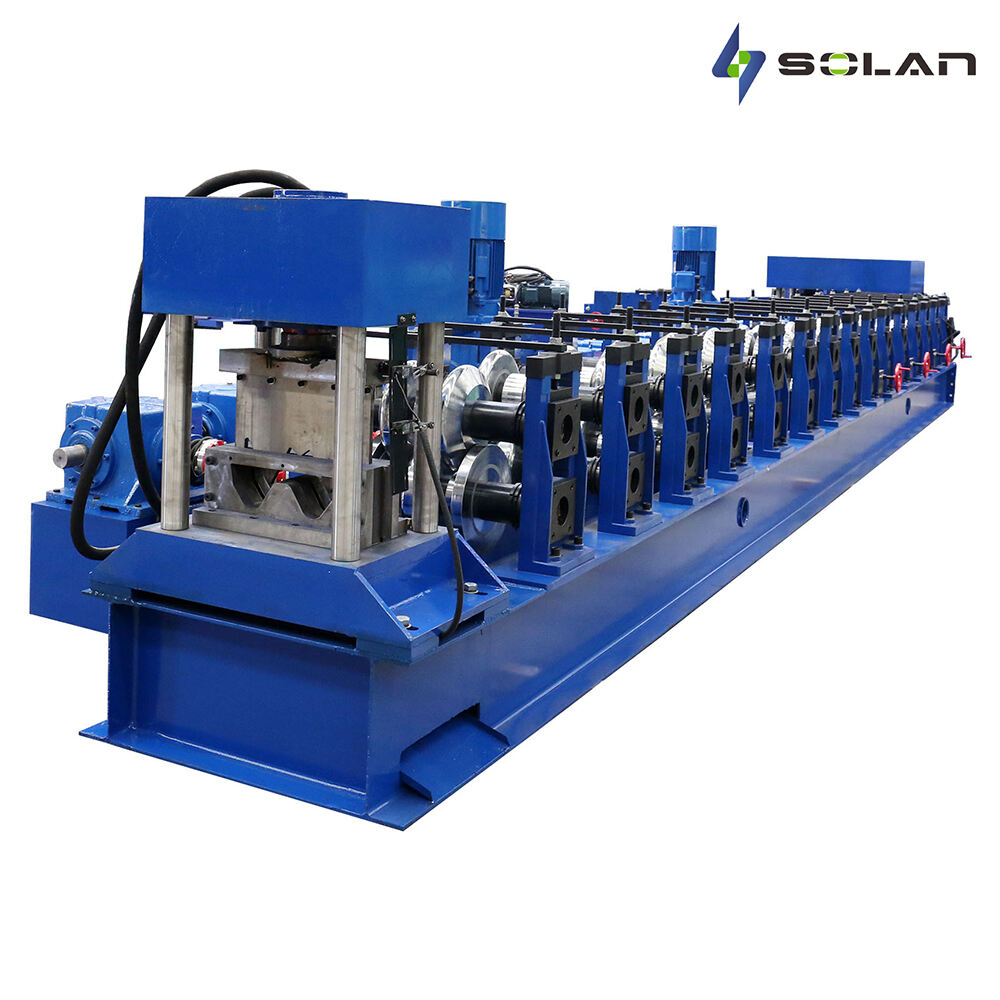
b. Roll Forming
The sheet passes through multiple roller stations, shaping the curves and waves gradually. Precision alignment of each roller ensures a smooth tile surface.
c. Embossing
If the model includes embossing, the machine presses a deep, ceramic-like texture onto the metal tile.
d. Servo/ Hydraulic Cutting
The PLC sends signals to the cutter to achieve accurate, burr-free tile lengths.
e. Output & Stacking
Finished tiles exit to a manual or automatic stacker.
If tile waves become inaccurate or asymmetric, adjust the guiding wheels.
Large deviation may indicate encoder or sensor dust buildup.
May indicate roller misalignment, loose chains, or hydraulic pressure issues.
High temperature requires cooling or oil replacement.
These checks ensure stable tile quality throughout the production cycle.